Our Ambassador and landscape photographer John Starkey takes us on a journey through shooting waterfalls at some of his favourite locations. Read on to discover his technique and learn a few tips…
The Intimate Landscape
As landscape photographers we are always seeking out those big vistas, the images that encapsulate the scenery we love. We are fortunate in the UK to have such diverse landscape scenery, and a beautiful coastline too.
There is another side to landscape photography, the smaller intimate scene, and these are a genre I do like to shoot. Waterfalls give just that opportunity to create an intimate image to pull the viewer into the shot. They can be peaceful and calming, dynamic with lots off movement and energy, dark and dramatic, and mystical. It really is up to you to interpret the scene and create the mood you want.
Light plays a crucial part, as in all photography, even the lack of it. When shooting waterfalls I actually prefer dull overcast days, so here is my first tip. Visit on a grey overcast day, even if it is raining. It avoids bright highlights, harsh shadows, and creates a different mood.
Tip – Shoot on an overcast dull day when you would normally just stay home.
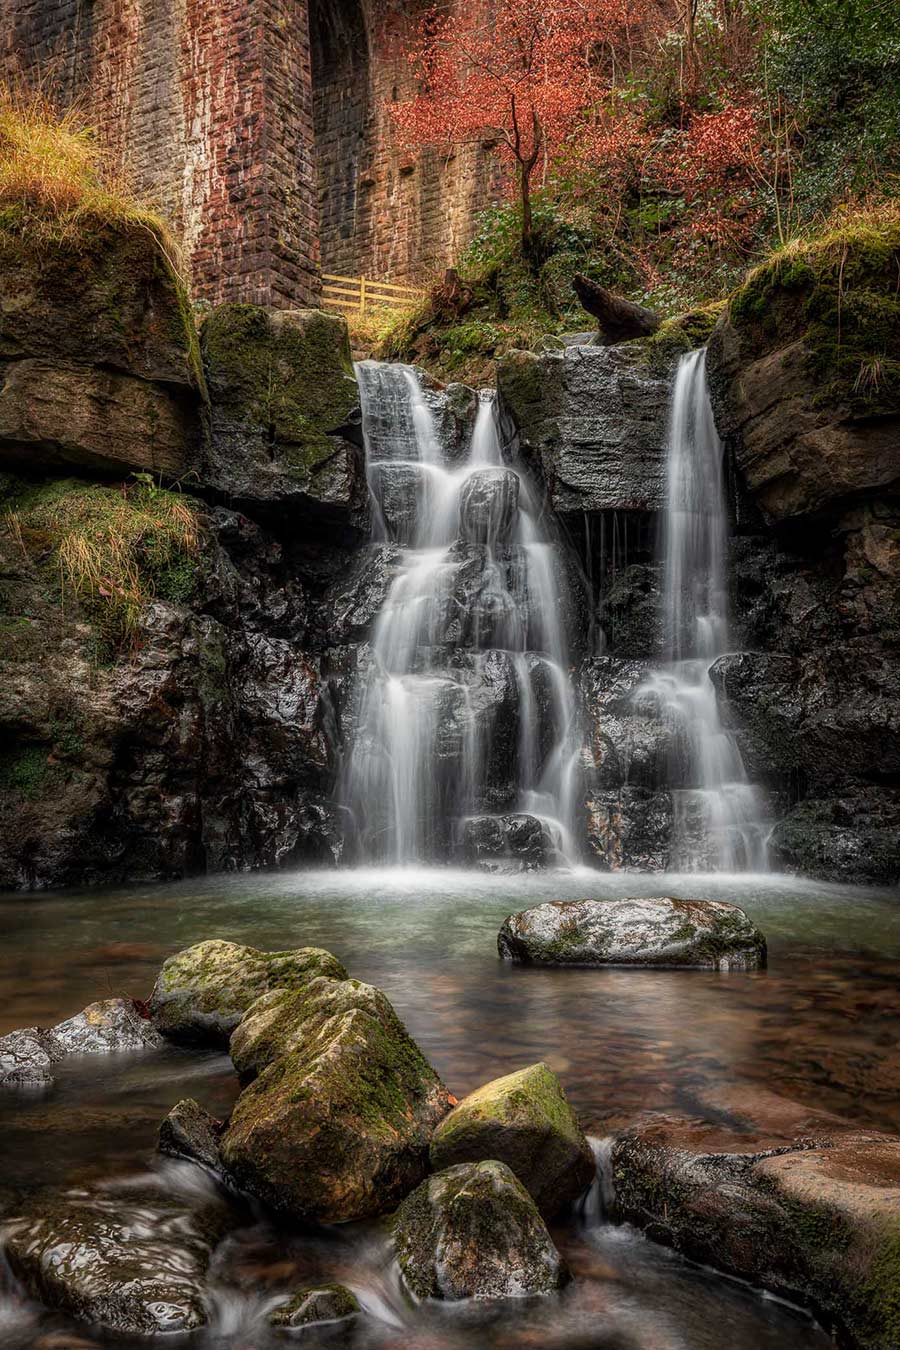
Viaduct Falls, Clydach Gorge, Brecon Beacons
Use A Polariser
I use the NiSi V6 Filter holder with the built-in Landscape Polariser. There are two types of polariser and it is worth mentioning the differences:
The Landscape Polariser has a purple tint which is just the Nano coatings, the colour tone is actually neutral. Polarisation is exceptionally good, and it can be left mounted to your lens unlike other systems, protected by the CPL cap. The Nano coatings help to reduce flair, and also repel water, which is very useful in situations like this when water is very easy to wipe away without smears.
The Standard Pro polariser uses the same polarisation film. The difference is it is not Nano coated, and has a slightly warmer tone. Of course shooting in RAW any differences in tone become irrelevant when you process your images.
Using a polariser may sound obvious, but it serves a number of useful purposes. Firstly, rocks and foliage reflect a great deal of light, which a polariser will remove to allow the colour of the scene to come through. We are not so concerned about removing reflections from fast moving water, but there may be still pools where removing reflections will benefit the shot.
A polariser can also help with waterfalls that produce a lot of spray in the air, by removing specular highlights.
Secondly, a polariser will have an ND factor of 1-2 stops, meaning it will slow the shutter speed. In many cases, a polariser will be all you need to soften the water motion and retain detail, without even using an ND filter. Experiment with a polariser before using an ND filter.
Tip – Use the ND factor of your polariser before using an ND, it may be just enough.
Plan Your Composition
It can difficult in the UK to get an original composition with many locations being so popular. So consider your Point-Of-View. Maybe you need to be down very low, or even a little higher, anything that is not the normal view-point will create more interest. Using a strong element in the foreground like rocks or foliage will draw the viewers’ eye into the image, and look for small details in the scene.
Tip – Change your POV and look for details in the scene.
When I arrive at a location I will always walk around to try and absorb the atmosphere before deciding on a composition. At a new location is is important to be familiar with the scene first. Study it, feel its personality and enjoy it. The composition will reveal itself as you start to understand it.
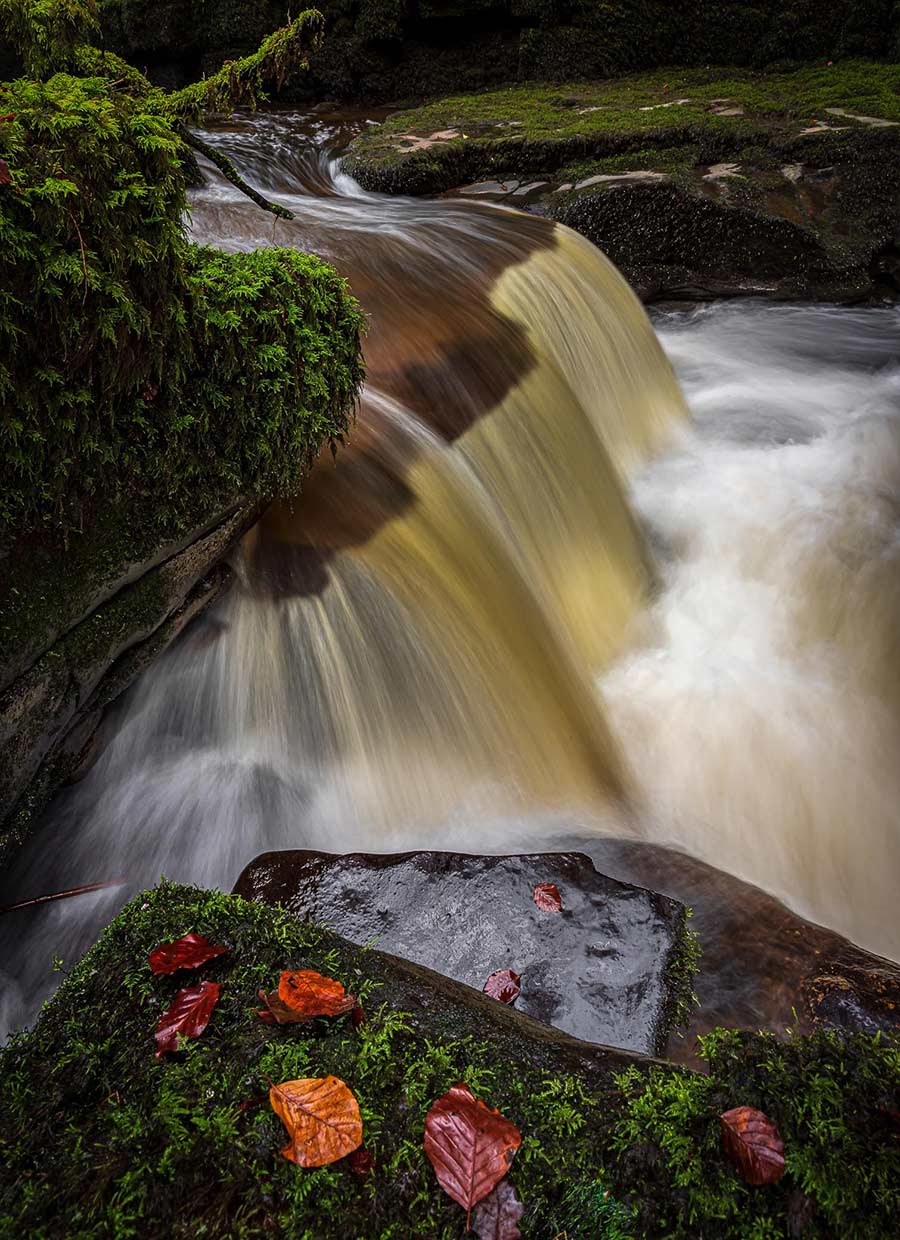
(Detail) Clydach Gorge, Brecon Beacons
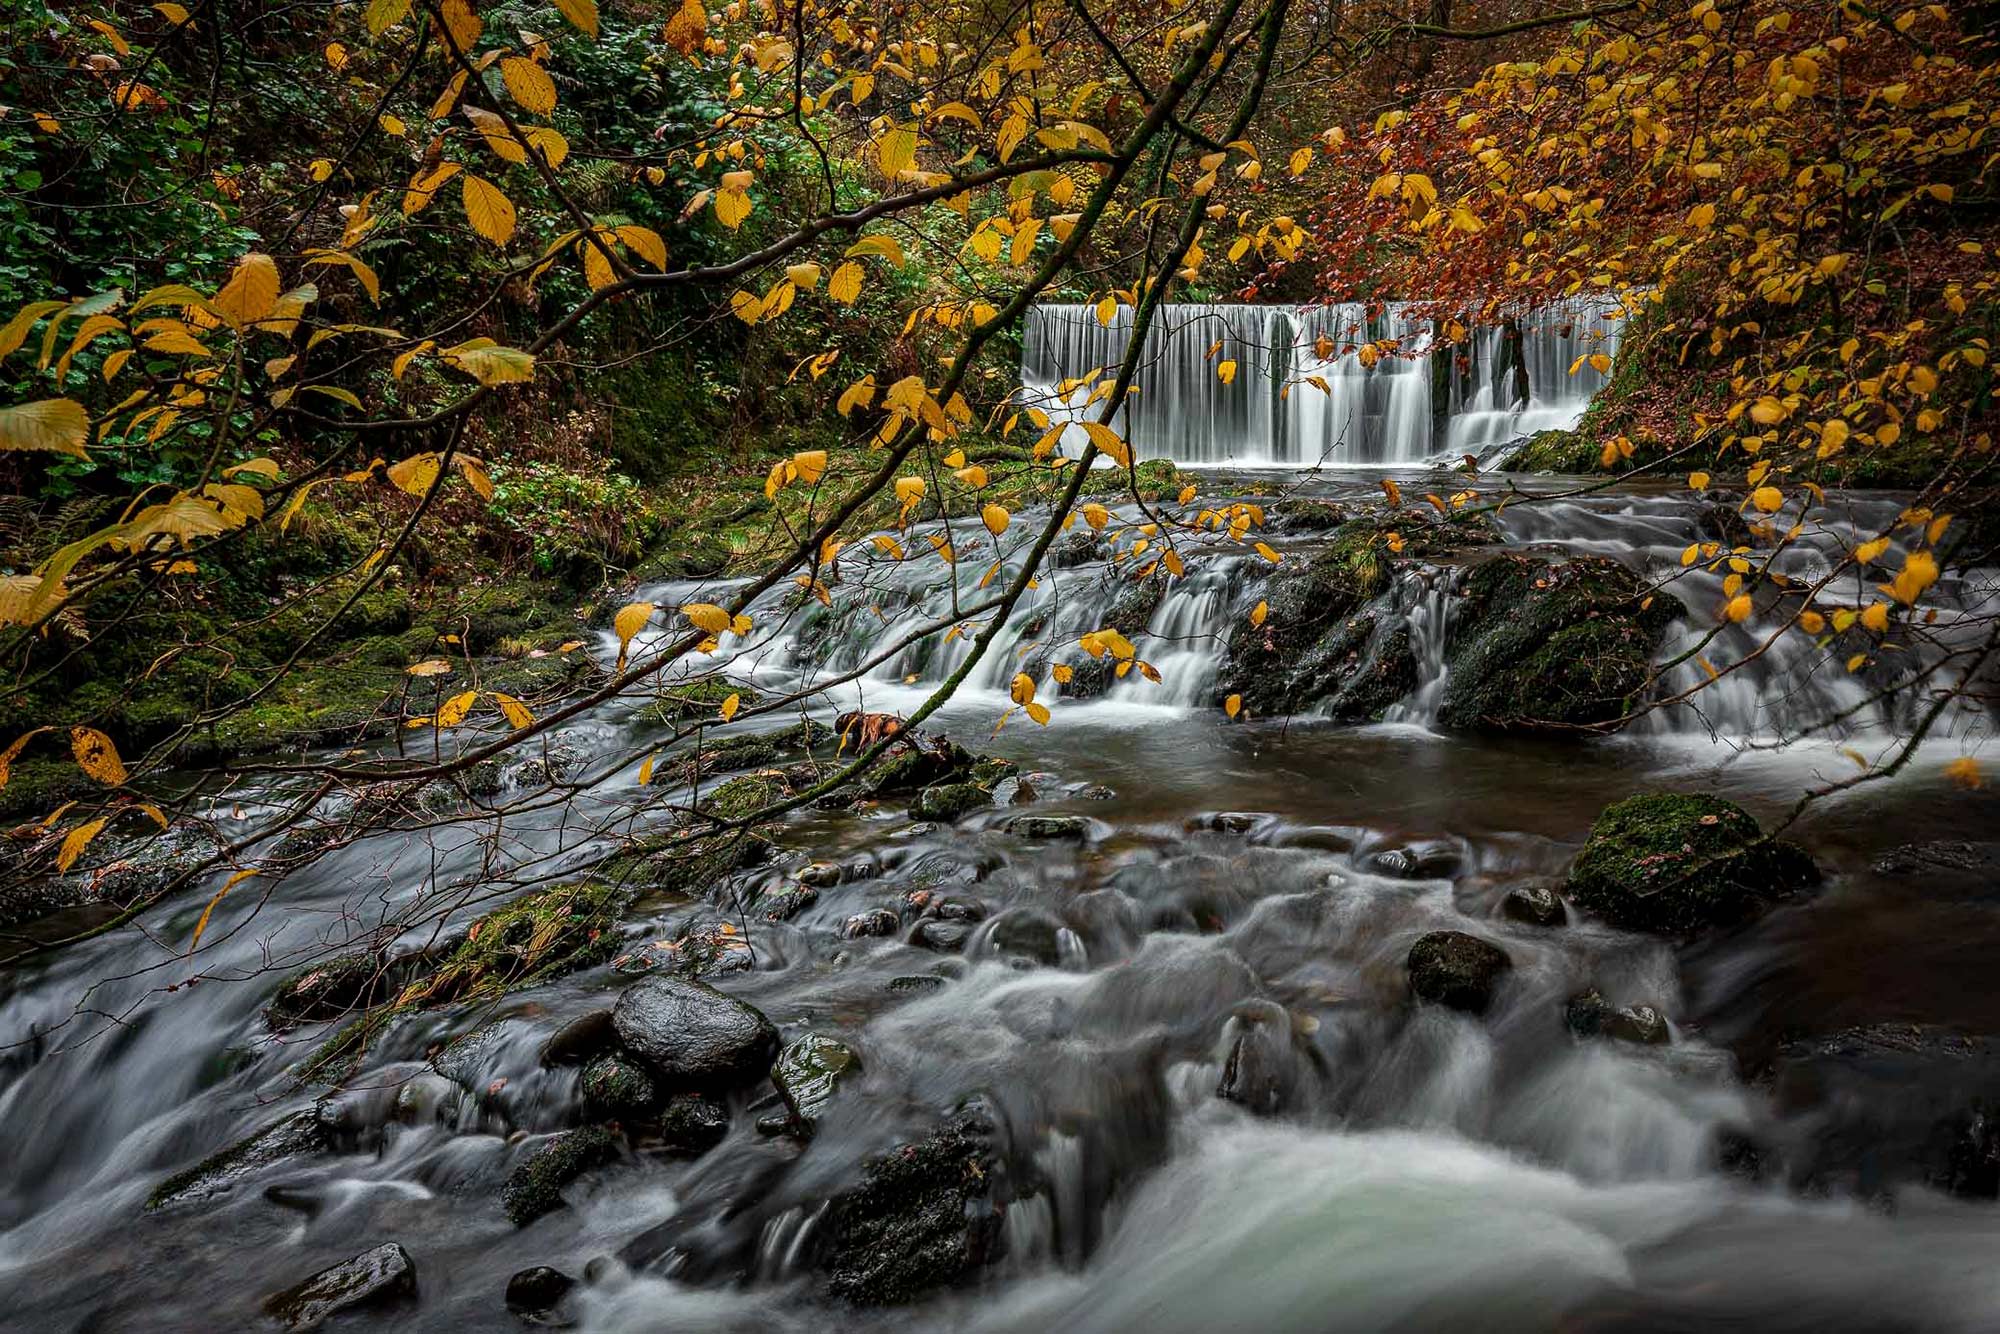
Stockghyll Force, Ambeside, Lake District
Use Foreground
Using foreground is an important element in composition, such as using rocks in a river bed to create lead-in lines, and additional points of interest to balance the main point of interest.
Also use branches and hanging foliage. For this image of Stockghyll Force I wanted to capture the wonderful autumnal colours; shooting through the foliage gave an impression of intimacy to the composition, with the waterfall itself being partly concealed. Why conceal part of such an important element of the shot? Study the image and be aware of where you eyes are drawn to…your eye will stay in the frame, exploring the detail, whilst you subconsciously complete the scene with your imagination. Encouraging a viewer to transport themselves to the scene will always make a successful image.
Tip – Study the scene and be aware of where your eyes are drawn to. Try to use this in your composition.
Bold elements too close to the edge of a composition will draw the eye away and out of the shot. Always try to ensure the eye stays in the frame to give a successful composition.
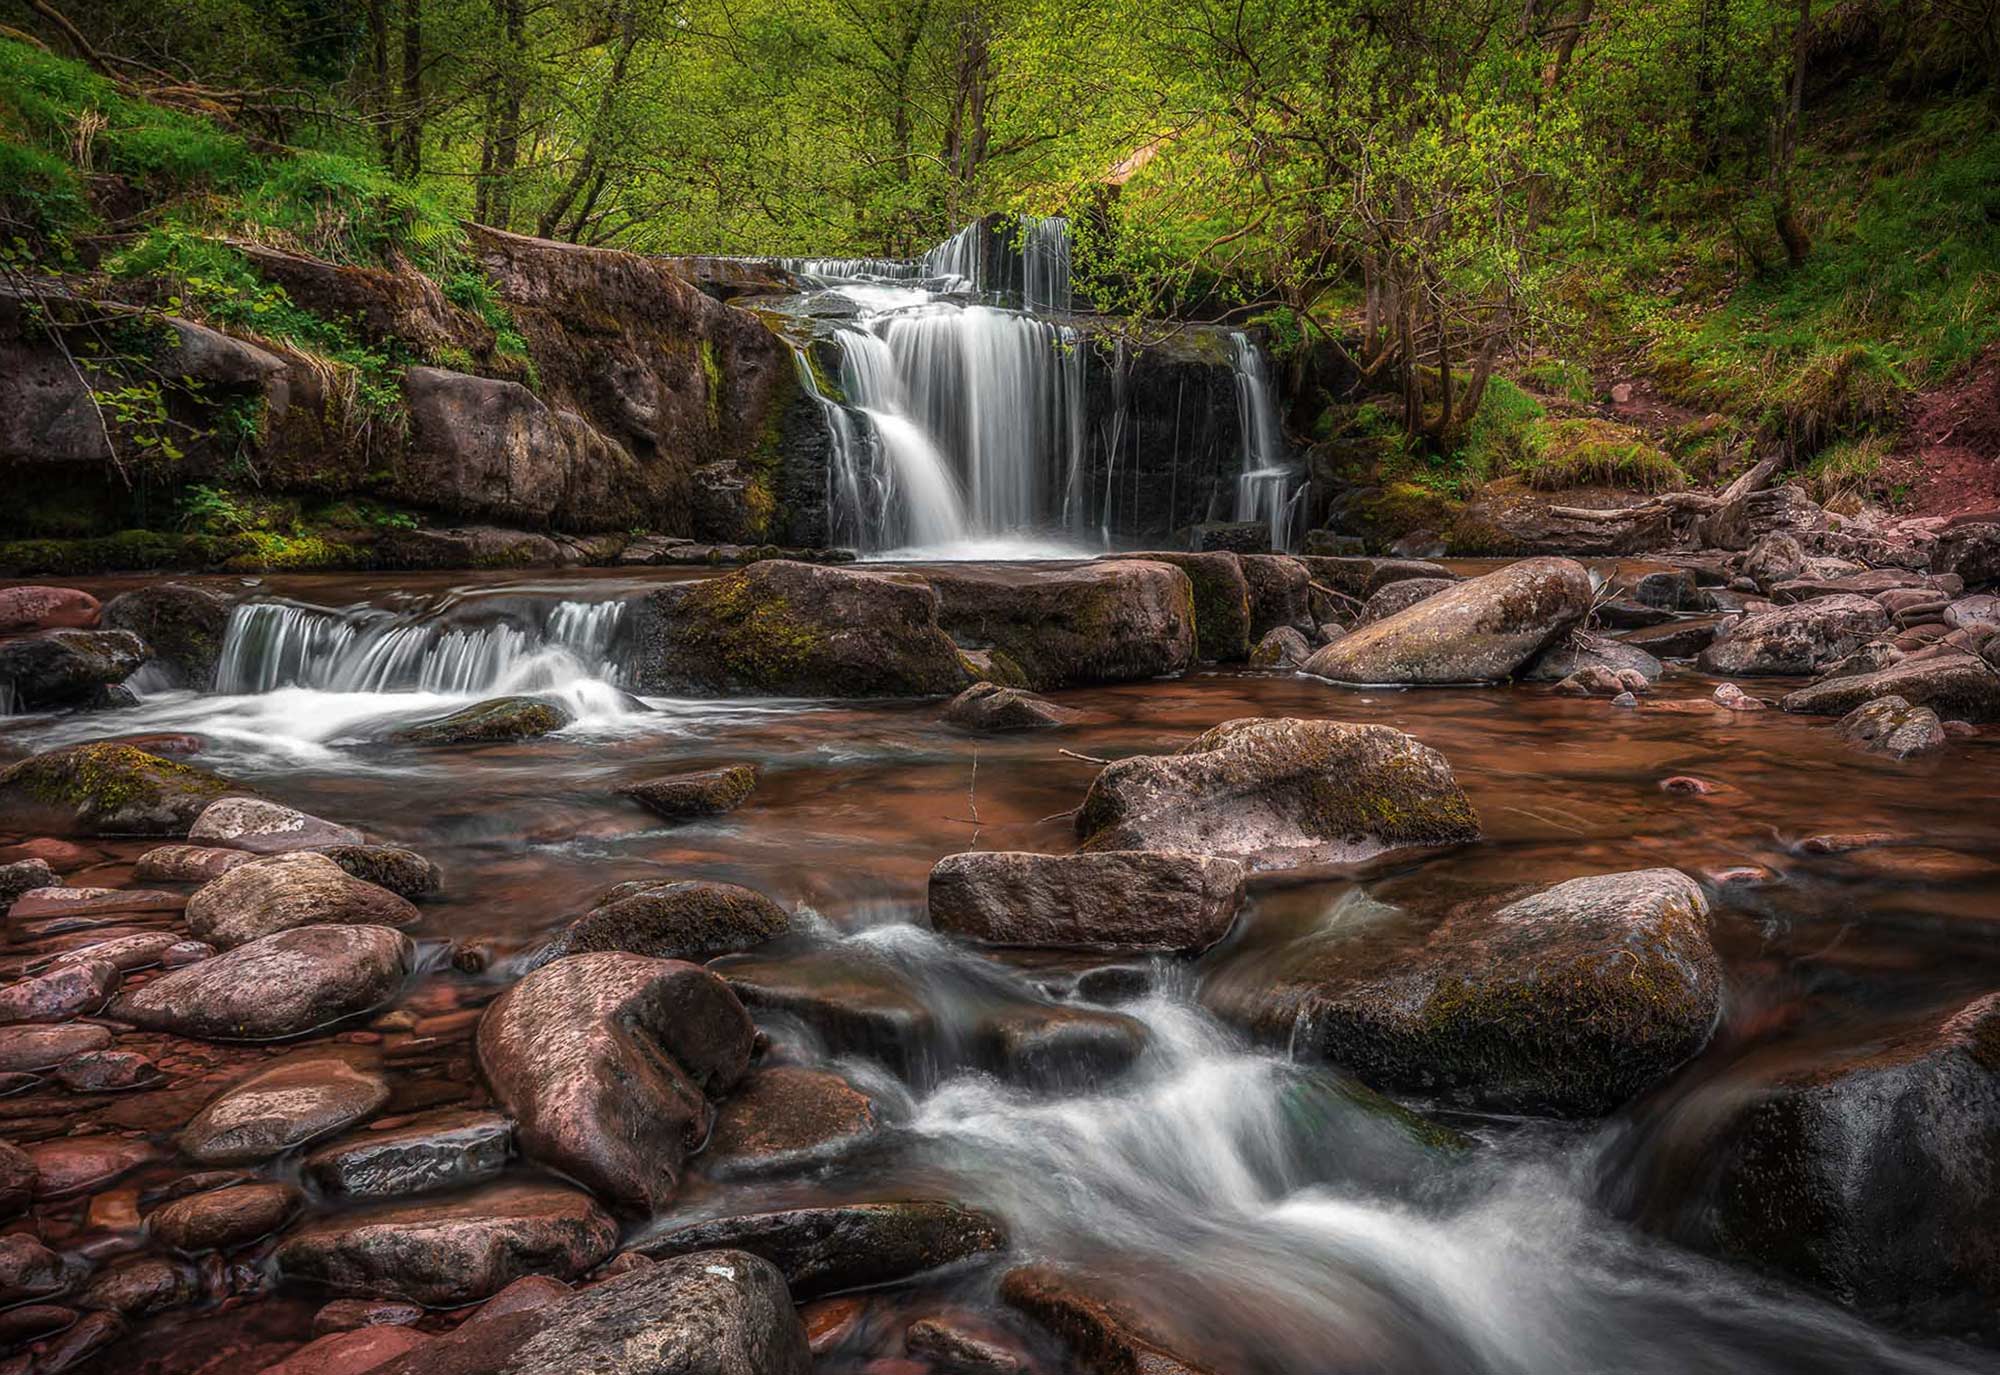
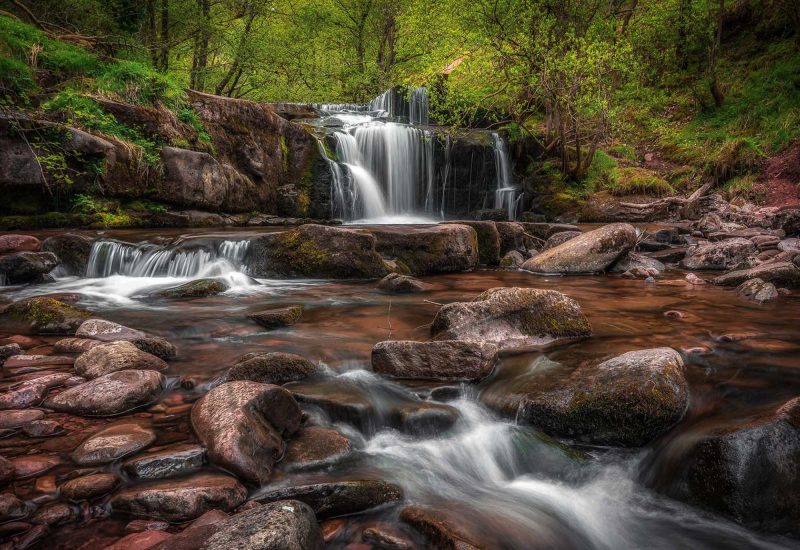
Blaen y Glyn, Brecon Beacons
Notice how the foreground in this image of Blaen y Glyn used a very low point-of-view to create a strong foreground. The colour and textures of the river bed help to draw the eye into the image and create an impression of the location.
Tip – Eliminate the sky for a more intimate scene.
Whenever possible I will always exclude the sky from the scene. Invariably it will be bright and will just serve as a distraction, so eliminating it will keep attention where it should be. A flat white sky will ruin your wonderful composition. If you do include sky, use a NiSi Graduated ND to reduce brightness and control the dynamic range.
Be Creative with Camera Settings
Be creative with use of aperture and ISO, these will affect the look and final result in your images. Try the lowest ISO your camera has to slow the shutter speed. My Canon 5Dmkiv has a lowest ISO of 50, although I will use ISO 100 at times. I like to play around between these two ISO settings and alter my aperture between f/8 and f/16, depending on the available light, the effect I want to achieve on running water, and the depth of field I need.
I will even stop right down to f22 at times. Yes, that means diffraction will make my image softer, and that at times, can be an advantage. When the light is soft I may want background detail to be soft. It’s all about experimentation and fun, be creative. Don’t forget to rotate the polariser, by doing so you can see the difference it makes to the scene , changes in colour, changes in reflections and so.
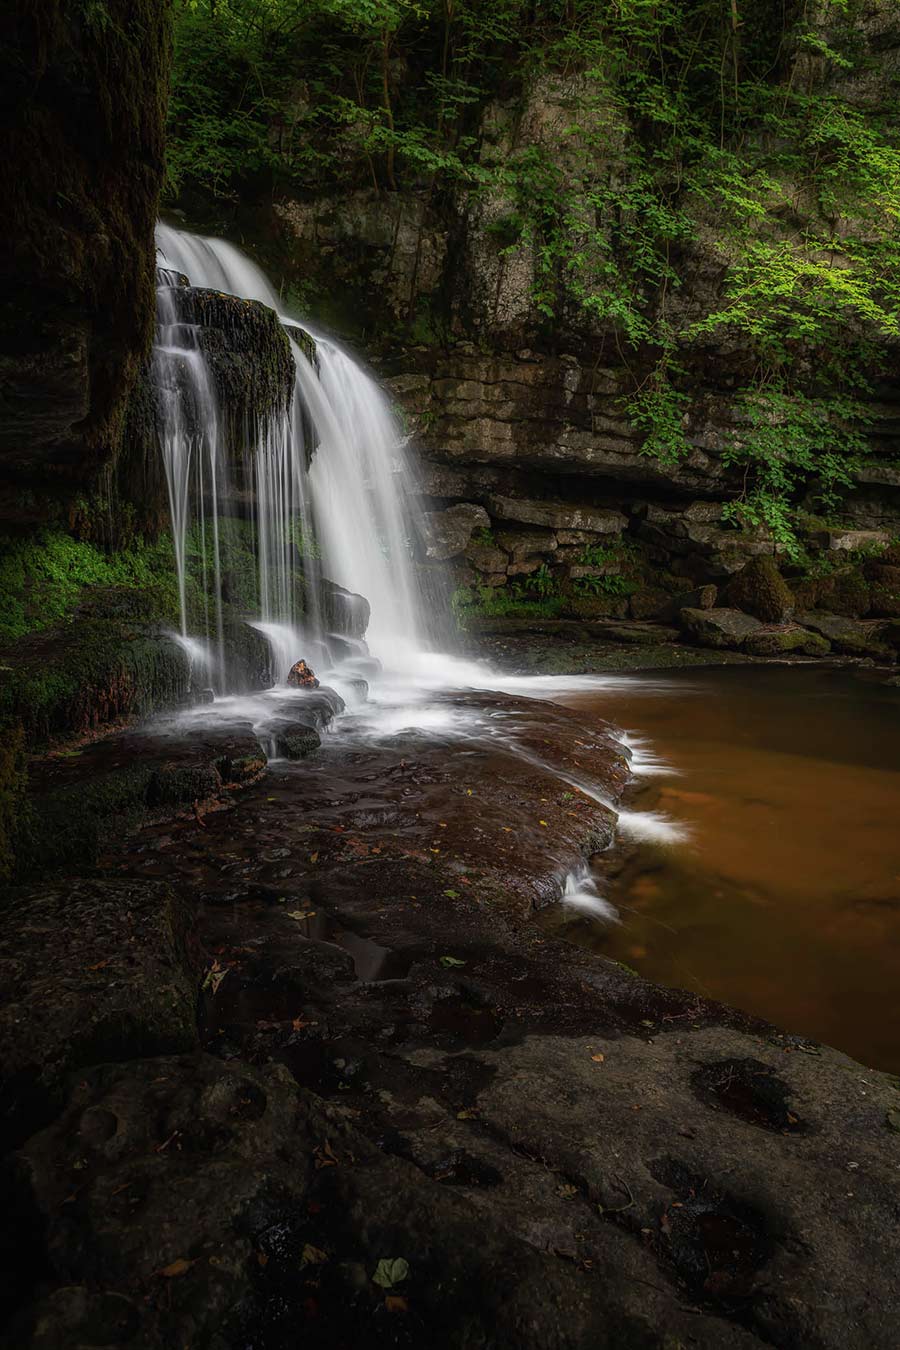
West Burton Falls, Yorkshire Dales
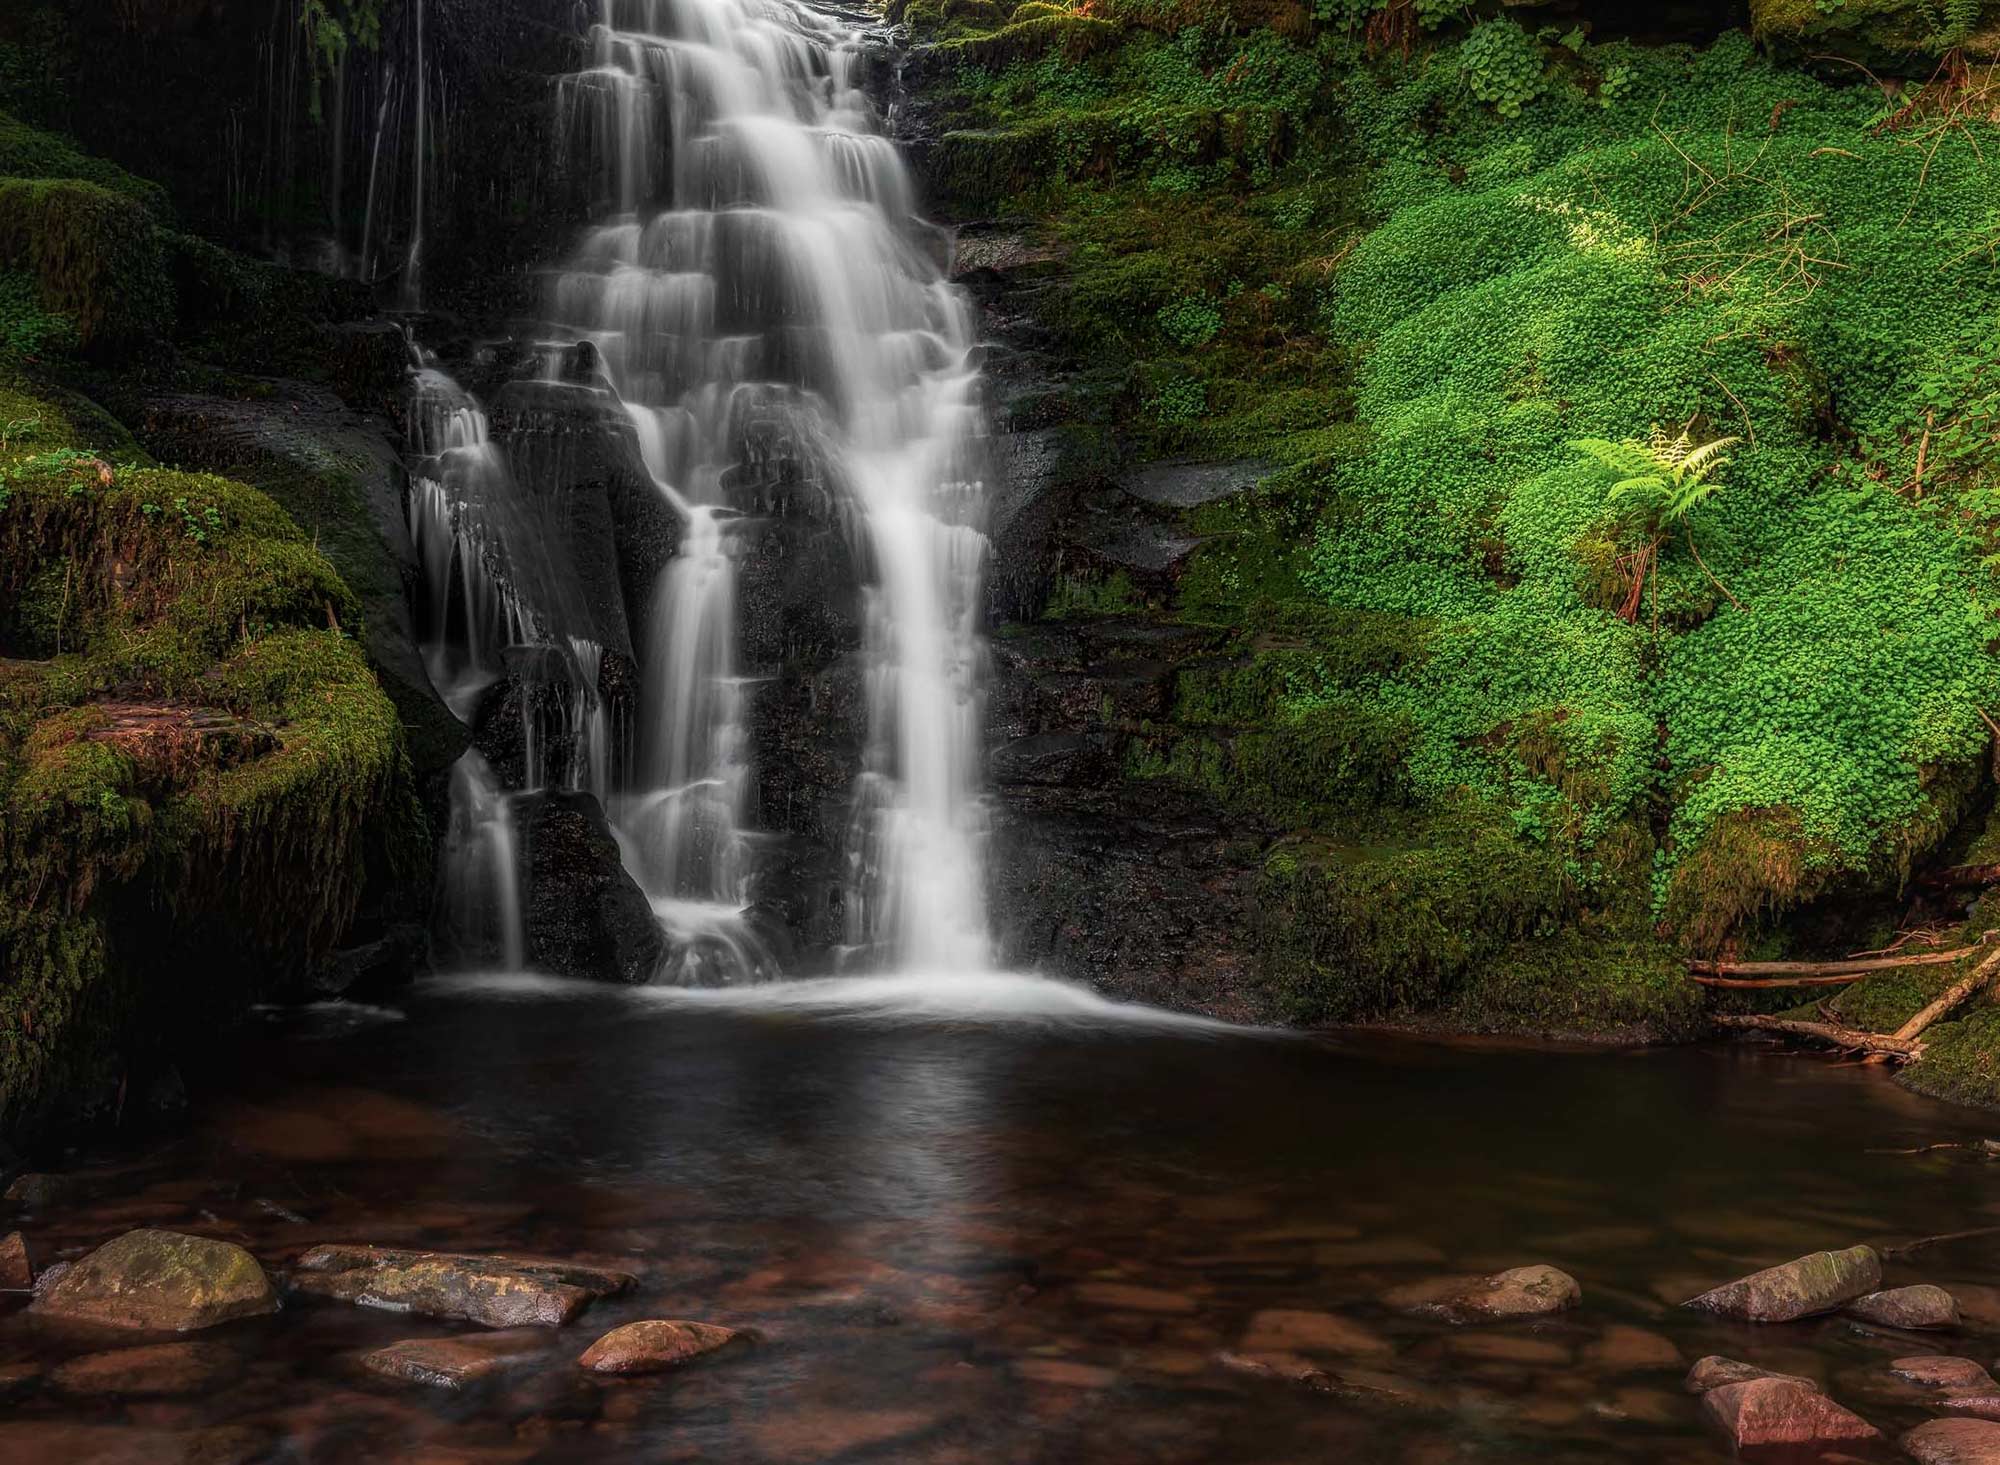
Hidden Falls, Brecon Beacons
Processing

My two choices of software for processing RAW’s are Lightroom CC and Photoshop CC. Firstly it’s important to get everything right in-camera as much as possible; editing to me is about enhancement and not correction.
Global processing and general adjustments are carried out in Lightroom, with local adjustments mainly by the brush tool. Two of my favourite sliders are the Texture and Clarity sliders, I find both these are perfect to enhance detail in water but must be used carefully, if you do push these two sliders too far you will create a very unnatural look.
Photoshop is used to remove shadow noise, any distractions such as litter that I could not get to, and I also add the white border I prefer around my images. I keep my processing workflow quite simple because I want it right in camera. If you would like a more in-depth editing tutorial you can contact via my website, or message me on Facebook.
Thanks very much for looking, I do hope you found this interesting and learned something from it. Please do leave a comment, and to find more of my work please visit my website. You will also find more about me on my Biography link below, and links to follow me on Social Media.
John
John Starkey
Based in Worcestershire, John is a master of landscapes and Street photography....
View Biography View Website
Latest posts by John Starkey
- Shooting Waterfalls - May 27, 2020



Leave A Comment